
First, let me start by saying, excuse my lack of personal pictures in this post, but I went to a place I’ve never been to before and I didn’t want the doctor to think I was creepy. I tried to get one of my kids to come with me to take pictures, but they had other plans. The nerve.
I don’t normally go into anything that has to do with my skin and face where I’m not very well prepared and very well researched, but this time it wasn’t the case. In fact, I sat there while the doctor was preparing to take my blood and thought to myself “how did I even just drive myself here willingly?” I saw test tubes, needles, numbing cream, and gauze, but I was mentally blocking it out. I will admit that I try some pretty crazy and painful things in the name of vanity, but I think this is the craziest thing I’ve done so far. I was about to enter into the platelet-rich plasma (PRP) facial abyss.
For those of you who aren’t familiar with a PRP facial, also popularly known as a vampire or blood facial, it’s a procedure where a practitioner micro needles plasma and platelets from your own blood back into your skin. Your own growth factors extracted from your blood are used to enhance collagen production and stimulate your body’s natural repair and rejuvenation process. The science behind this makes sense, especially because I’m a huge fan of micro needling. I normally do it on myself with my beloved Dr. Pen, so I figured this was the Cadillac of micro needling.
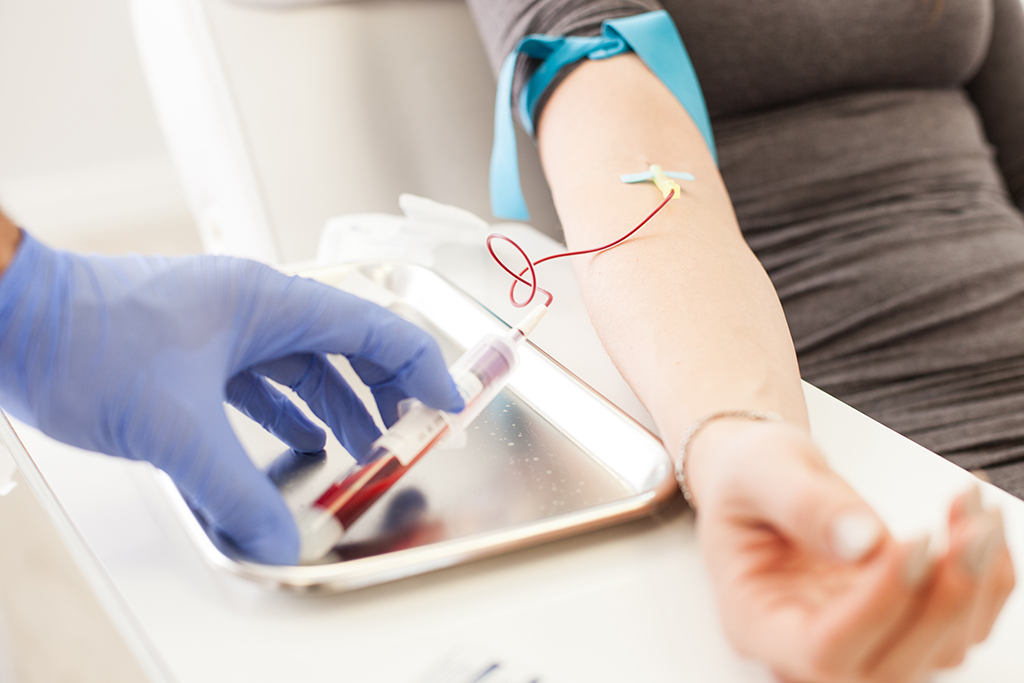
I met with the doctor and he explained to me that he would be drawing my blood and spinning it into a centrifuge to separate the blood from the plasma. I turned my head in the other direction as he drew my blood because I am 100% scared of getting my blood drawn but I handled it like a champ. While my blood was spinning, he applied numbing cream all over my face and chin so I could marinate for the twenty minutes it took for the blood to separate. While I was basking in numbing cream, the doctor explained to me that it takes at least three procedures to get the full result of even toned skin, smaller pores and an overall fresher look. Wait, what? Three procedures? Realizing that I got myself deep into something that I didn’t prepare for, I sat there cursing myself for not doing the proper research while briefly thinking about how I could secretly text someone to call me with a “family emergency” so I could bolt out of there.

I watched the doctor set things up and prepare for the treatment by extracting my plasma from the spun tubes into a syringe that he would use during the procedure. He was meticulous, everything was clean and sterile and he also wore a mask because COVID was happening. He removed the numbing cream with gauze and got started micro needling. He applied hyaluronic acid serum and then added the plasma from the syringe on to my face while he was going in circles with the micro needler. He went in sections, starting at the with the cheek/chin area, moving on to the other side, then each under eye, the forehead and lastly the nose. The pain level was between a 5-7, but it was tolerable. The most painful area was under the eyes for me, that was about an 8 or 9 on the pain scale. After he was done, he used the remaining plasma and gave me a “plasma mask” that I was to keep on for a minimum of 5 hours. My aftercare instructions were to use the serum he gave me every 6 hours for the next 4-5 days.
I left the place with an awfully red face that had a goopy orange film on it. My face felt sore and a little hot, definitely not the look I was going for when I made plans to go shopping with my friend later that day. Since I couldn’t wear a surgical mask over my face to go out in public, I changed my plans for the evening until I was able to wash my face and wear a surgical mask. (Spoiler alert: I still looked like death even with the plasma washed off my face but the surgical mask helped hide the Freddy Krueger look, making me thankful for the pandemic!)
The next morning, my face was red and my under eye area was swollen. I also had breakouts all over my cheeks which looked to me like my dermatitis was acting up along with some rosacea. I figured this was from the serum he gave me and decided not to use the serum anymore opting for my prescription metrogel to clear up the breakout. I also used a vitamin C serum throughout the week (I currently use this one from Pure Scents – this is my favorite one when I don’t have time to make my own because it’s just as effective and works amazingly well). As the week progressed, my skin was dry, scaled and felt tight. After the slight peeling finished, my skin was smooth and my skin tone was more even but only in the areas that weren’t broken out.

Final thoughts: At an average cost of around $400-$750 per treatment and the comfort level of the procedure, I’m one and done. I feel like it didn’t magically transform my skin and while it’s true that you need 3 treatments to see a noticeable difference, I’m guessing that I can continue to micro needle myself every month and see awesome results just as well. I am a huge fan of micro needling, but I didn’t expect breakouts for at least 3 weeks after the procedure or that my dermatitis would come back for an extended visit. I’m going to chalk that up to the hyaluronic acid serum sensitivity, but I don’t think it’s worth it for me to do the other two procedures because I don’t foresee an earth shattering result. That said, I have seen some great results on other people so I do believe this procedure can be effective for certain people, but as we all know beauty treatments are trial and error so if you have the time and money to try new things, this one might be for you.
It’s been about a month now since I’ve had the procedure and I still can’t see an improvement due to the redness and texture from the breakout. For now I’m going to stick to my trusted VI Peel that I do 3-4 times per year because I find that to be the best fit for me. Has anyone tried this and what are your thoughts?
♥
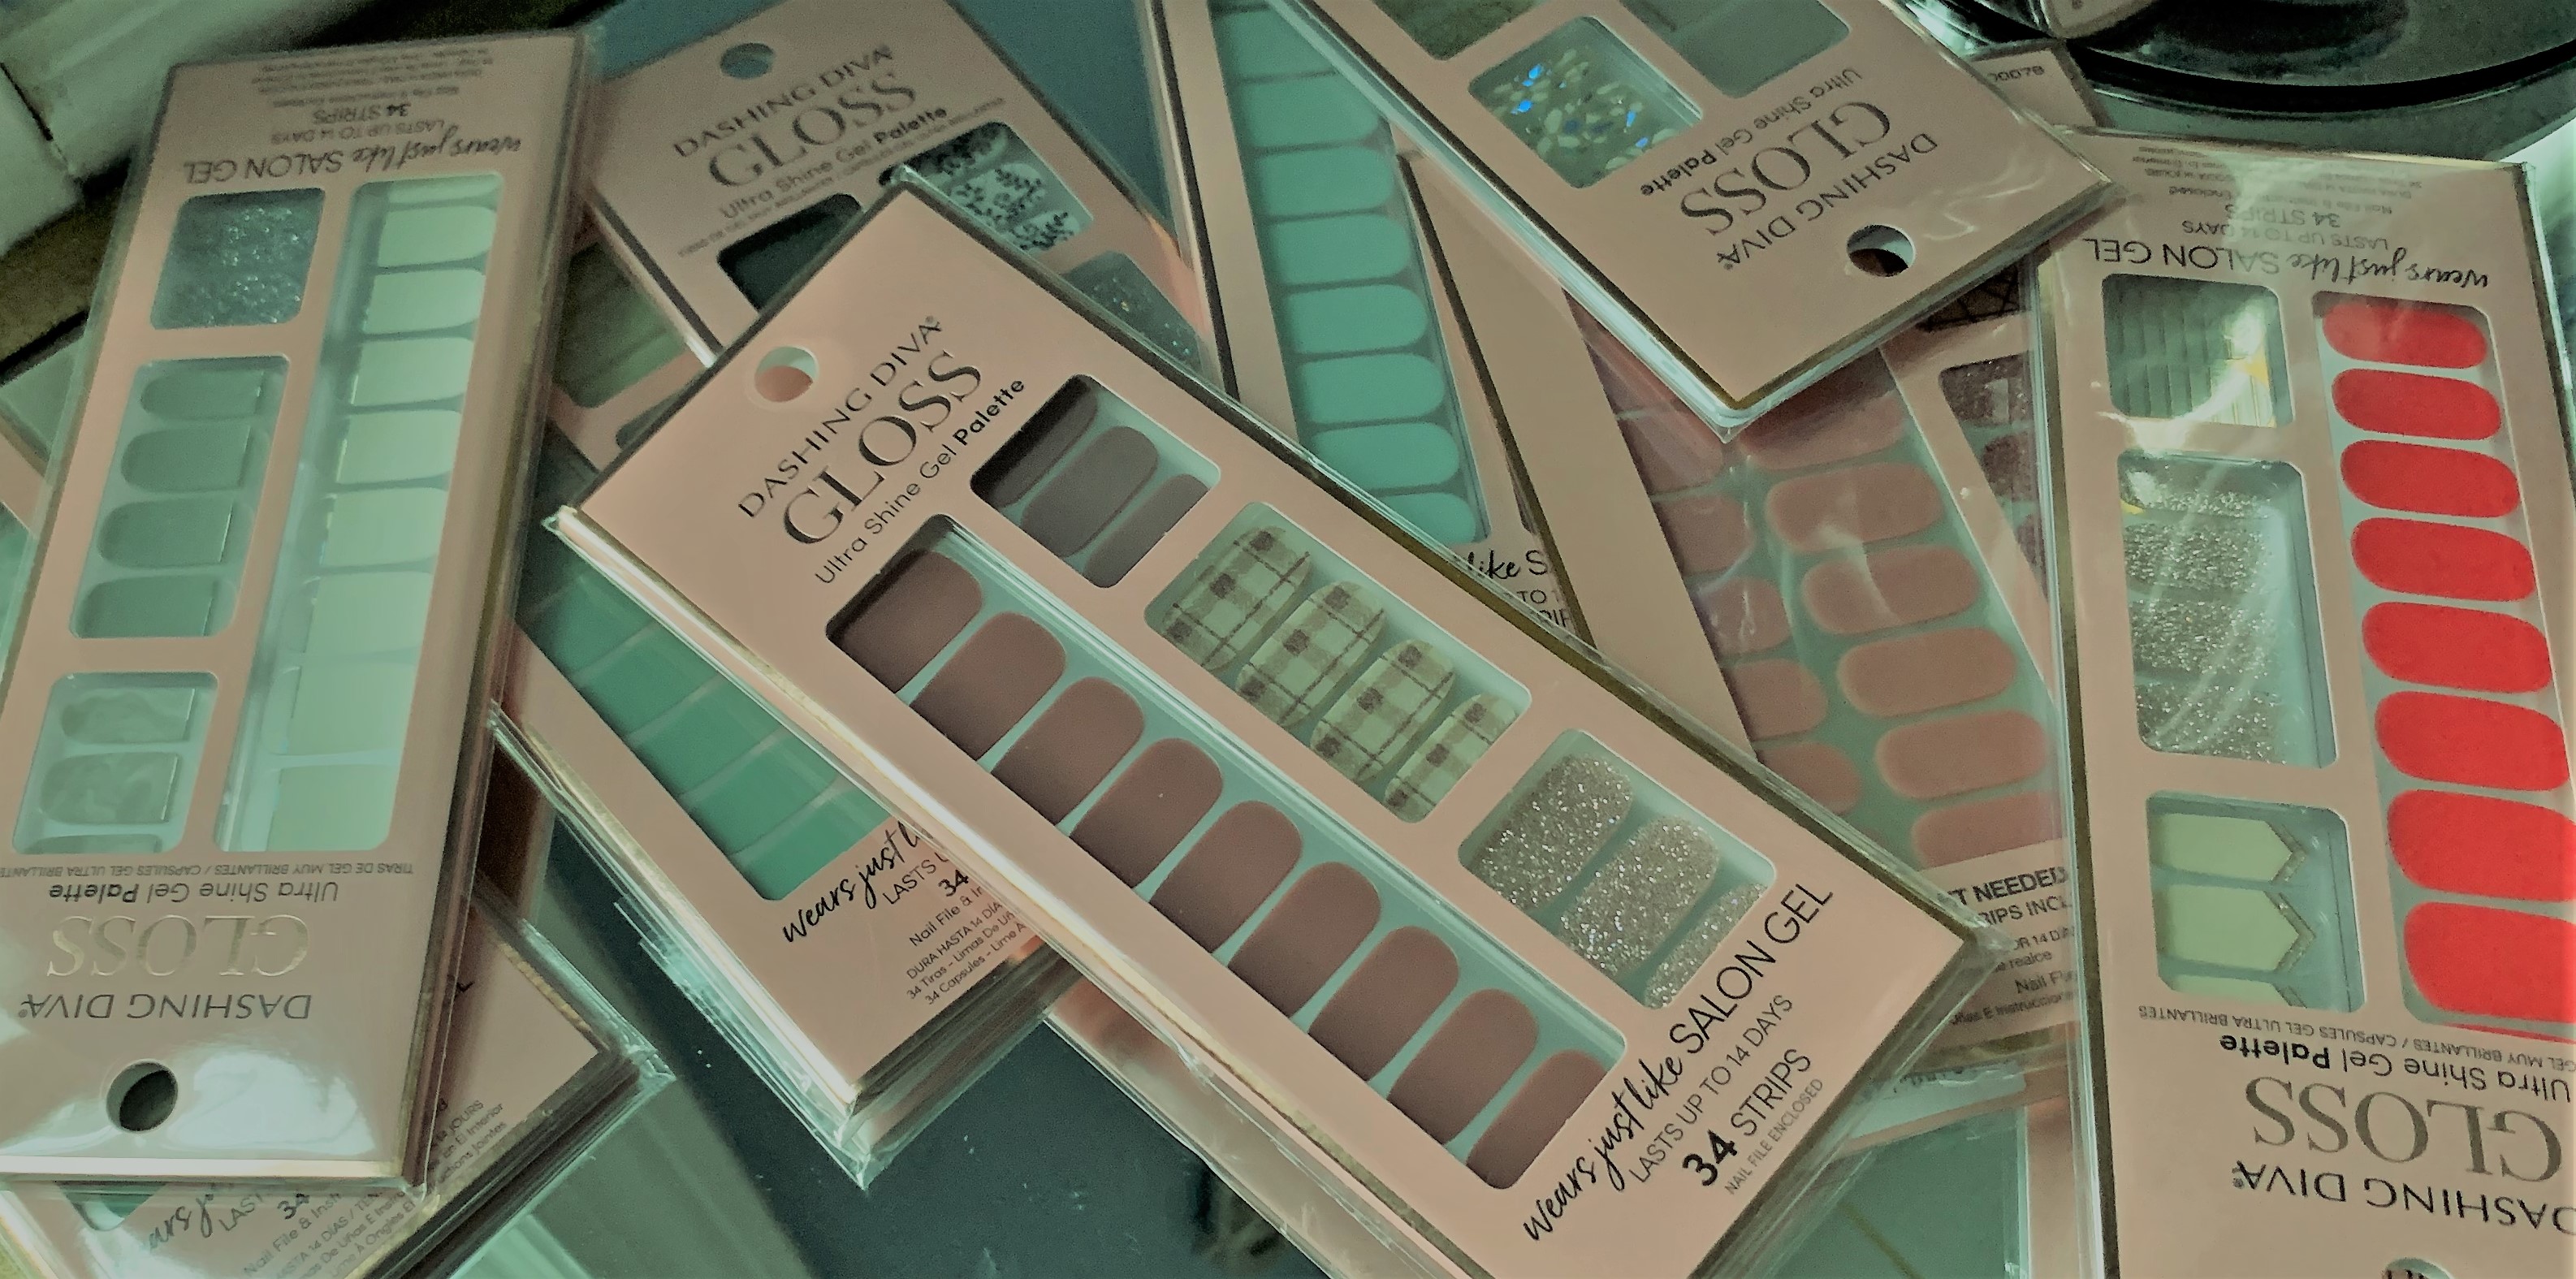
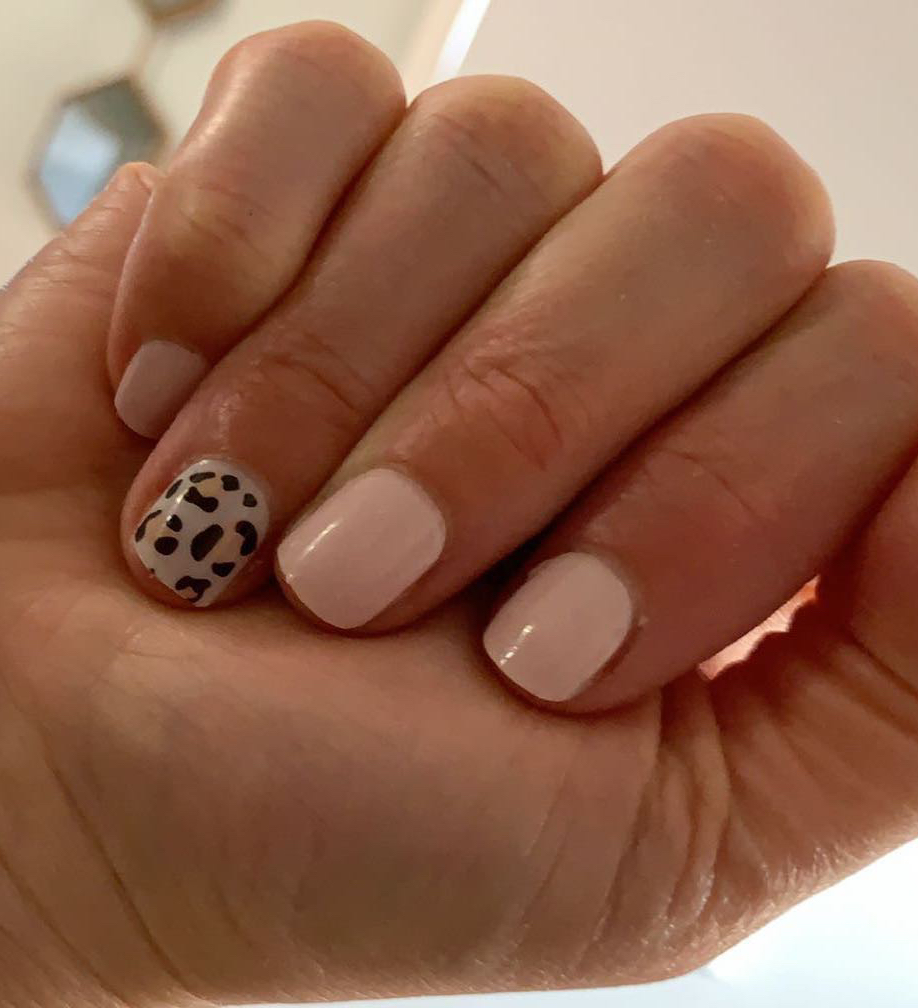 So we all know another shutdown is on the horizon and we’re going to have beauty problems again. For me, feeling like a diva goddess when I’m stuck at home helps my psyche, so if my hair is going to look like a bird’s nest, I’m not letting my nails look like I was stuck under a rock for three months. If you’re planning ahead like me, I’ve got you covered.
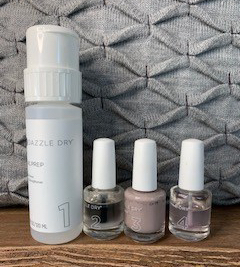 free. If that doesn’t impress you, how about the 7 days of chip free nails? I can’t even tell you how many times I’ve purchased nail polish after hearing it was chip free for 7 days but after day 4 was a total disastrous ugly little lie! I’m happy to report that this one lived up to my expectations and continues to make me very happy.


 One thing I want to mention, if they aren’t filed precisely, they can flip up at the tip. This happened to me last week; I was putting on my yoga pants and one of the decals stuck to the fabric and came up. When I pushed the decal down, I noticed it was slightly longer than my nail but I had to look really hard to see it (I refuse to wear readers, I’m not ready to open that can of smelly worms yet!) so my advice on that is this: Usually after I’ve applied them, at the end of my night when I’m winding down, I’ll sit with my file and lightly file down the edges. I eyeball the nail on the side at eye level to see if there are any overhangs or tiny parts that I didn’t file off correctly the first time. 8 times out of 10, I’ll find something to file off that I thought was perfect about 5 hours prior. They’ll work the best and stay on the longest if you have no overhang.

